Hobby Game Engine
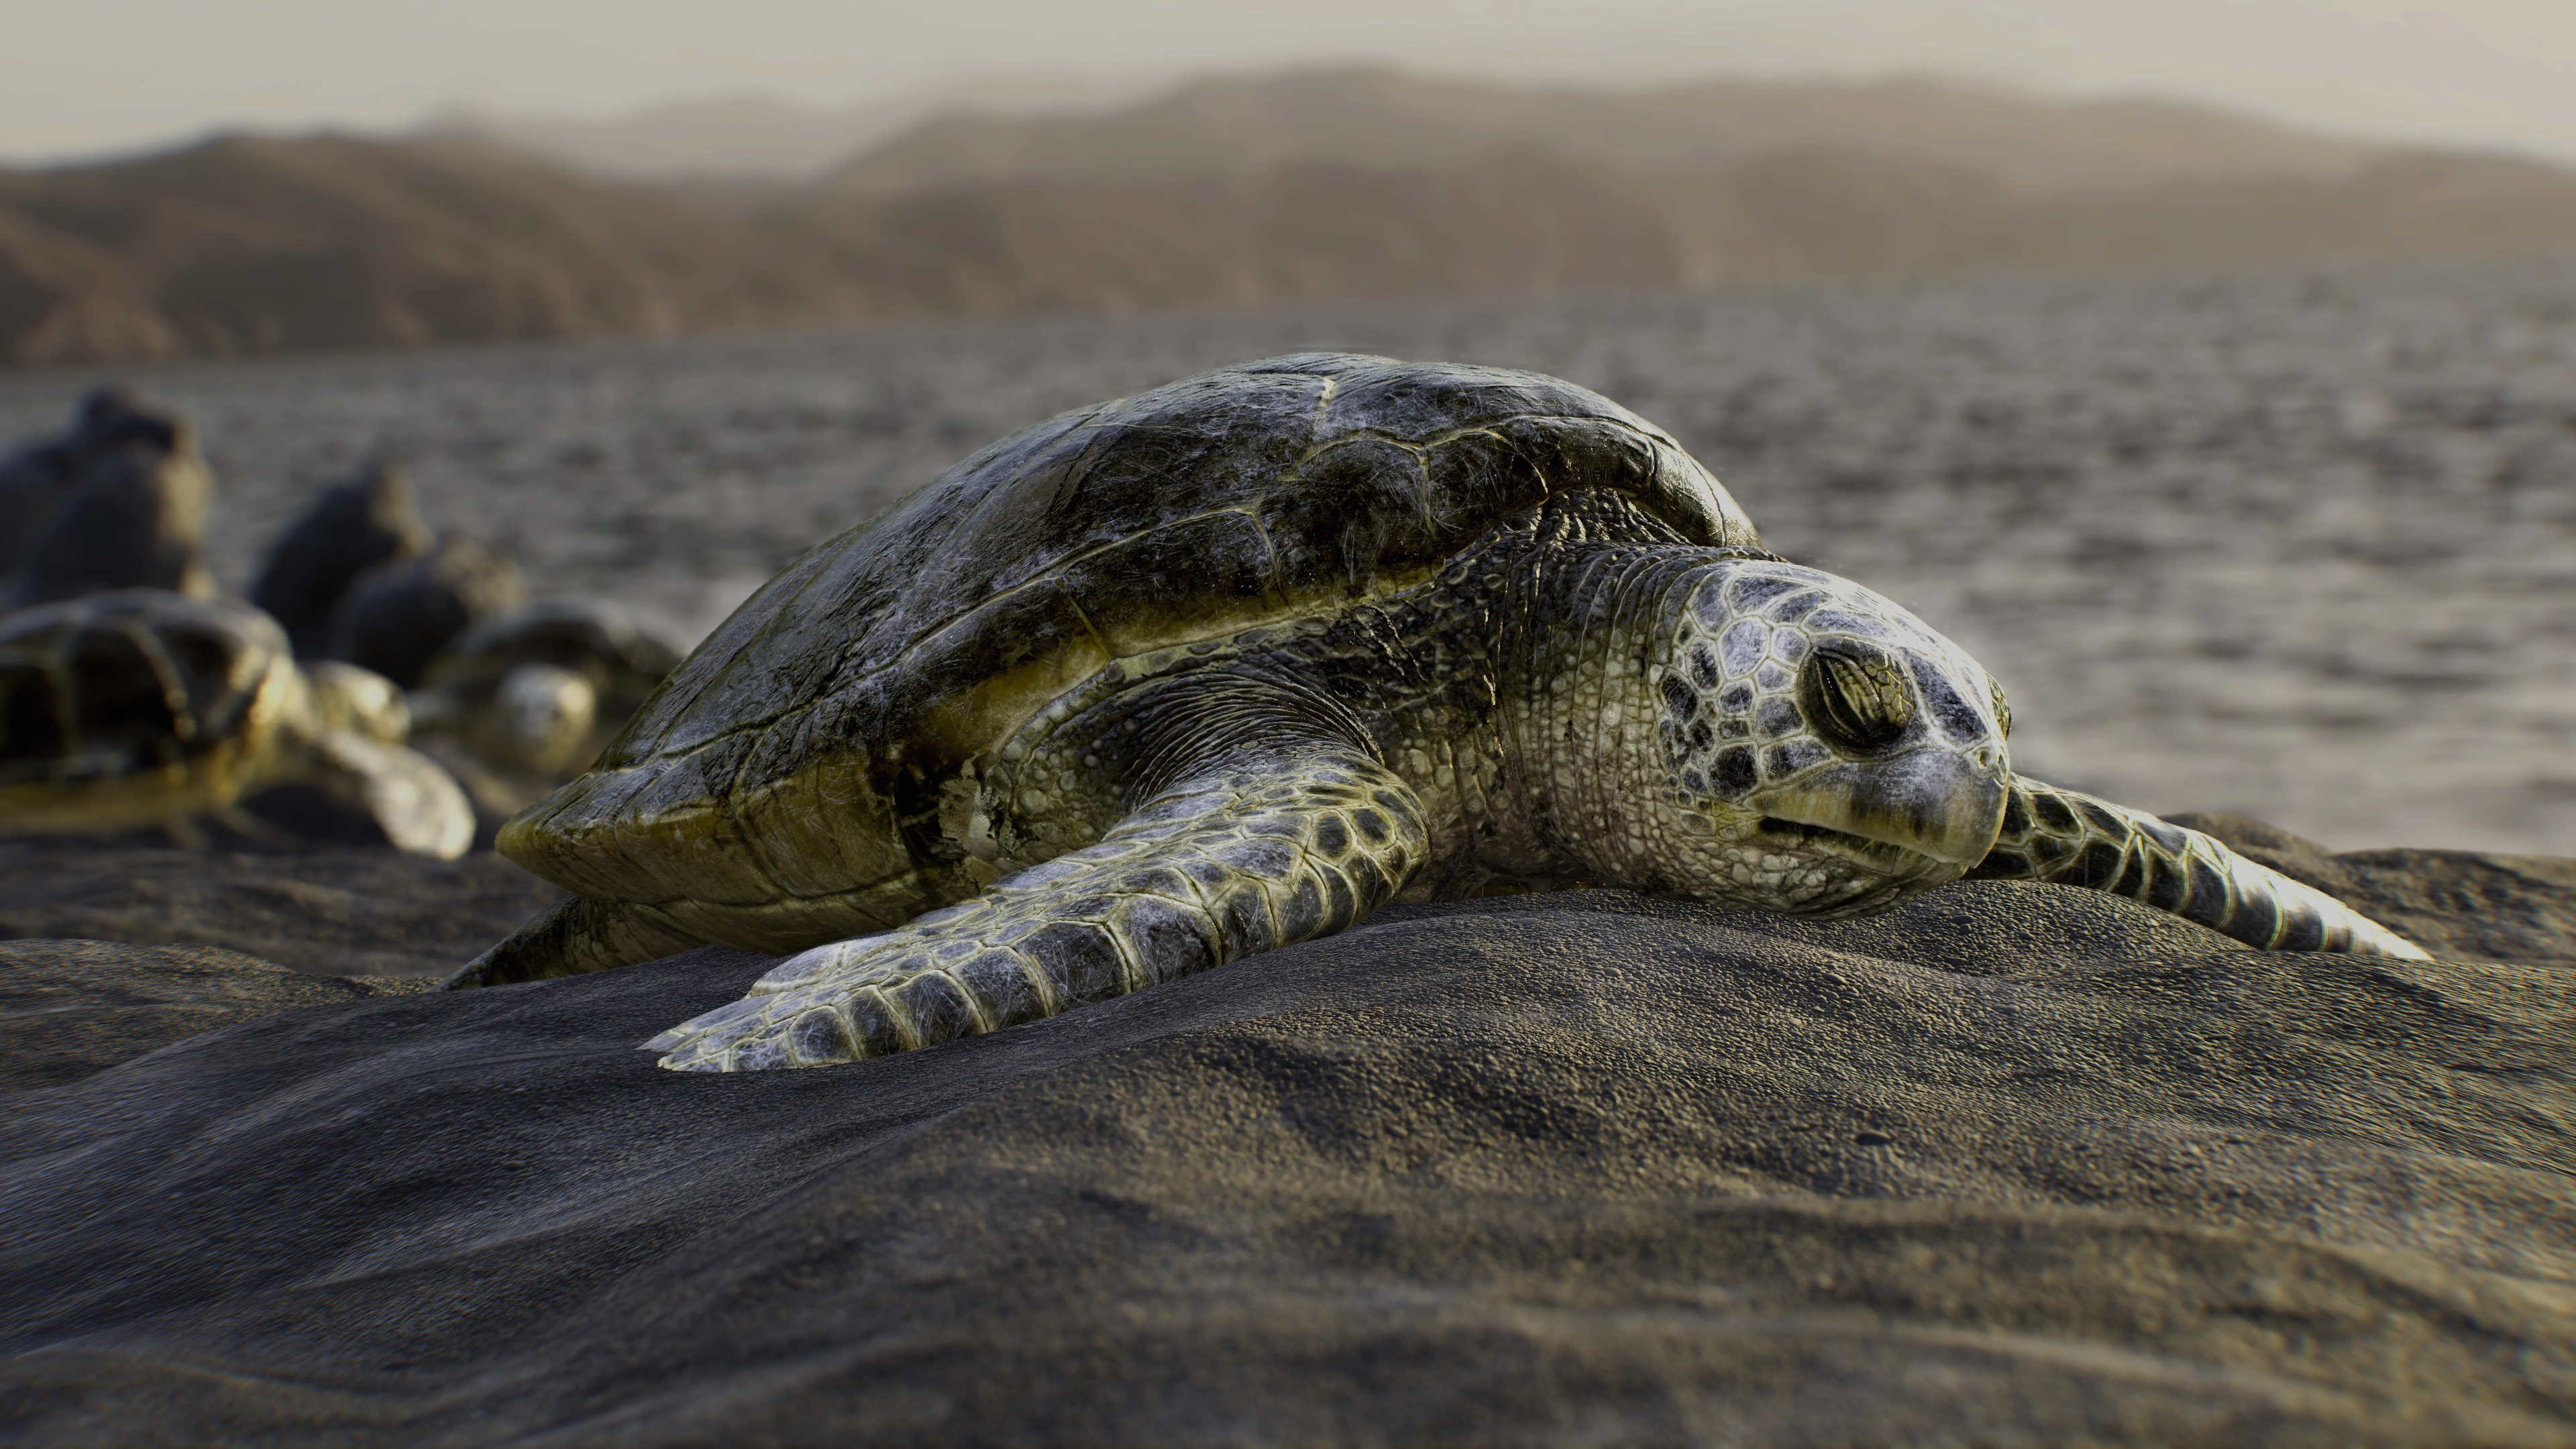 Recreation of turtle scene by Alica Klinger (Link)
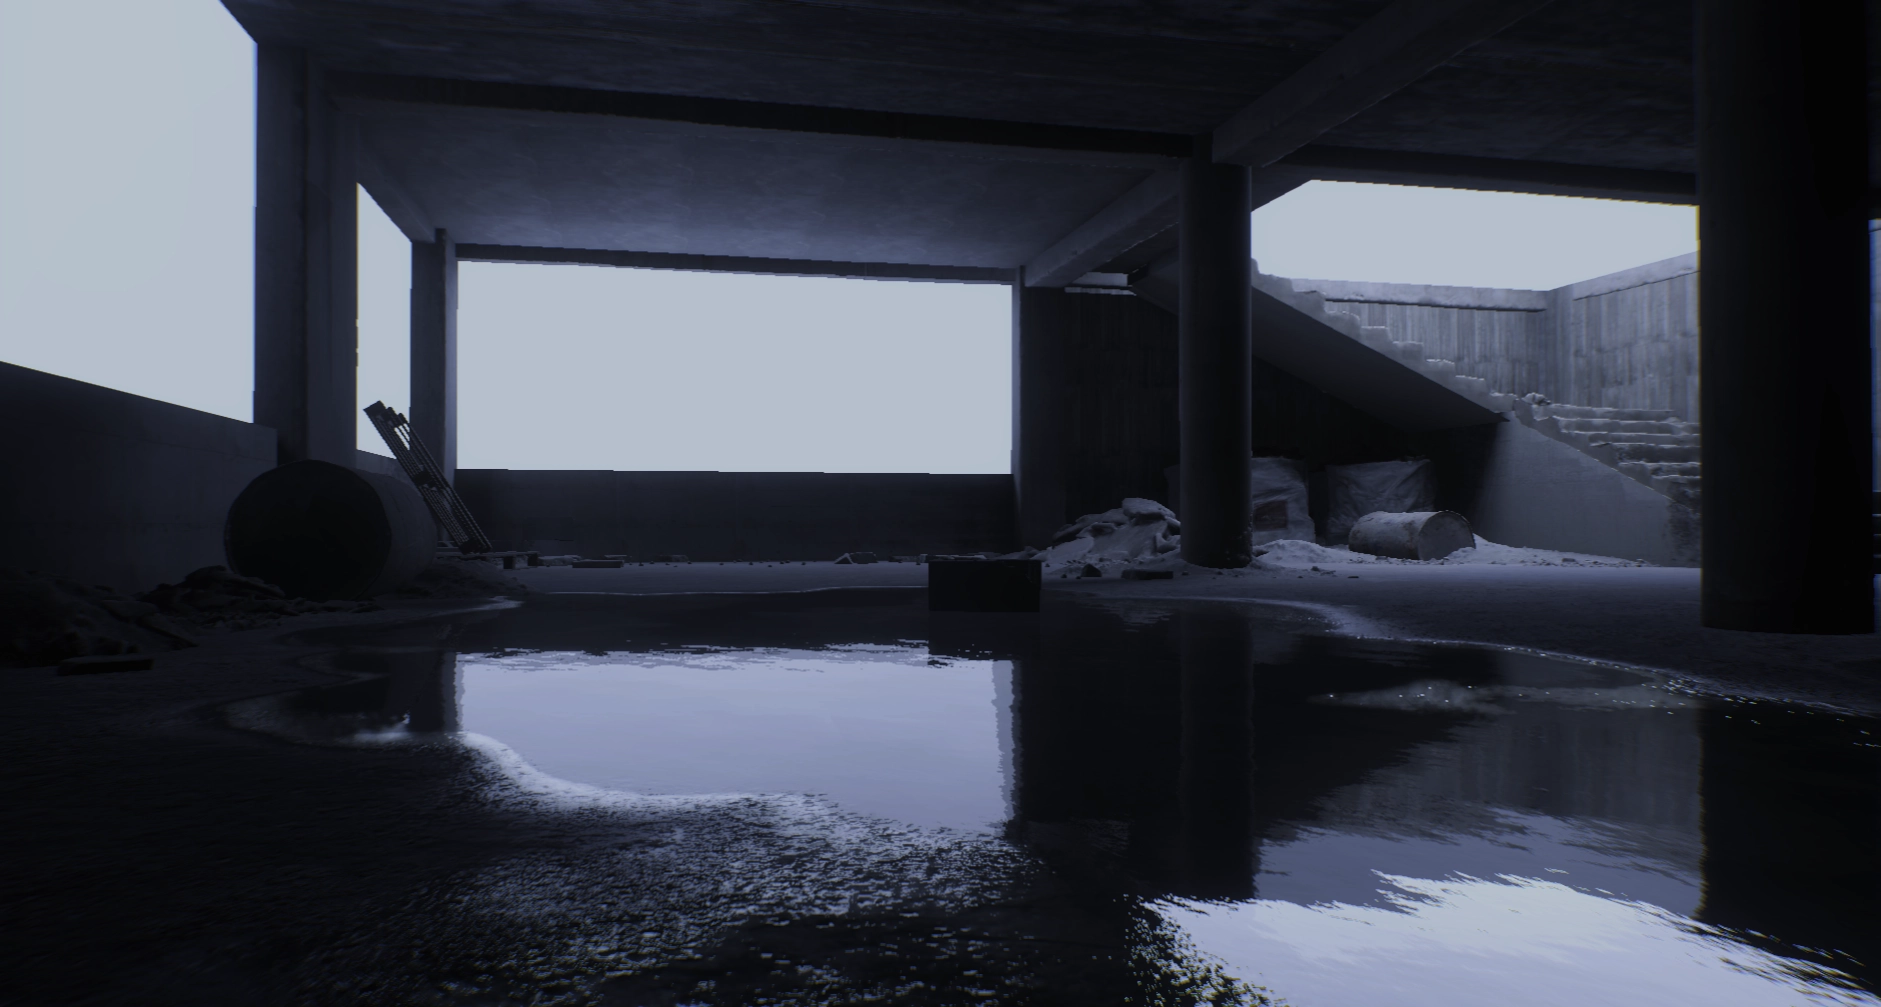 Scene based on Quixels “Unfinished Building” asset pack (Link)
Motivation
“Before you criticize someone, you should walk a mile in their shoes. […]” - Jack Handy
While the full quote is more comedic, I always felt this first part. It is easy to work with modern engines and complain about all their particularities and think that every design decision you disagree with is because the implementers had no idea what they were doing. In reality, many “weird to use” APIs are just a result of trade-offs, the engineers had to make along the way. And trying to write that same system yourself often shows how many edge cases and problems you haven’t even thought of as a user.
So at some point, I started to write my own game engine. Not to create a game with it and definitely not to compete with existing commercial engines. I am just a single person after all, and am doing this in my free time. I did it to gain a deeper understanding of what makes a game run. With the hopes that this also helps me become a better developer. And a better lead as well. In my day-to-day job, I often have to introduce and/or explain engine systems to less experienced or less technical people. This gets easier if I not only know HOW to use it, but also WHY it was build the way it was.
Also, I am a nerd and I just like learning technical stuff :)
General Overview
Given my original motivation, the engine borrows many design aspects from Unity and Unreal. The goal was to find a balance where a single person could write each system while also being at least somewhat representative of what a real commercial engine could want. So far, I feel like this succeeded, and I am constantly happy with how well and robust the engine reacts to changes and refactorings, even on 6+ years old code.
Giving a full rundown of all features would make this page way too long, so I will give a few short general points and then showcase some rendering effects for some pretty (and mostly still WIP) pictures.
- Custom reflection system based on libclang/cppast (Link). Cppast is discontinued, but I still keep it around as it (mostly) serves its needs. The reflection system is similar to Unreals, but it uses C++ attributes instead of macros and has support for custom attributes like C# has
- Garbage collection. I went with the classical bdwgc (Link)
- Fiber-based multi-threading. This uses boost fibers (Link), although I am not super happy with its stack management. It allocates on fiber creation, not on first fiber execution, which becomes somewhat of a hassle when considering that fiber stacks need to be GC allocated memory, and that a huge number of fibers might be spawned when loading many assets at once, like during scene loading
- Unreal like module system but with CMake (Link) instead of a custom build tool
- The asset database is a mix of Unity and Unreal. It’s mainly based on IDs like Unity, so renaming/moving assets is quick and easy. But it uses Unreal-style paths. The asset database is also not editor only. Unlike in Unity, you can load any (included) asset at runtime both by its path and by its asset ID. No need for AssetBundles or a specific Resources folder
- Editor UI uses Dear ImGui (Link)
- Runtime UI uses NoesisGUI (Link)
- Wwise integration for audio (Link)
- D3D12 and Metal rendering backends. There is a Vulkan backend, but it has not been maintained for a while, as D3D12 and Metal are enough for the devices I work on
- RenderGraph for automatic pass management. Also supports aliased resources for transient images to reduce memory usage
- Clustered Forward Renderer. I do export some material information in the DepthPrePass for various effects that need it
- Multiple shading model support. Currently, this is a “Standard” PBR shading model and a newer OpenPBR-based shading model that supports more features like clear coat
Mesh Shading
This change is pretty new to the engine (July 2025), but all main passes use mesh and amplification shaders for rendering meshes. There are still some editor only passes that use traditional vertex shaders for the same meshes, and vertex and index buffers are kept for raytracing. Also, some passes, like decals and the skybox, still use vertex shaders, as there would not be much sense in switching them.
Mesh shaders help with high-poly geometry by allowing more forms of culling to reduce the amount of vertices that need to be processed every frame. While whole mesh frustum culling still happens on the CPU side, the engine employs the following forms of culling in the amplification shader per meshlet:
- Frustum culling (but now per meshlet)
- Backface cone culling
- HZB occlusion culling
As the last one needs a finished Z-Buffer, this pass is not enabled in the DepthPrePass or shadow passes. As the DepthPrePass renders out quite a few other render targets, it might make sense to render big occluders to a separate occlusion buffer that can be used in the DepthPrePass. This is a topic for the future.
Aside from culling, mesh shaders open up another optimization possibility: Nanite-style hierarchical cluster LODs (Link). I have no intention to implement the full Nanite pipeline, as this is just way too much for a single person in my spare time.
But this engine uses a (clustered) forward renderer, so there are major performance concerns regarding quad overdraw when using high-poly-count meshes. Hierarchical LODs would be one way of ensuring more consistent triangle sizes in order to reduce quad overdraw at least somewhat. LOD support is currently WIP, but mesh shading serves as an important foundation for this feature.
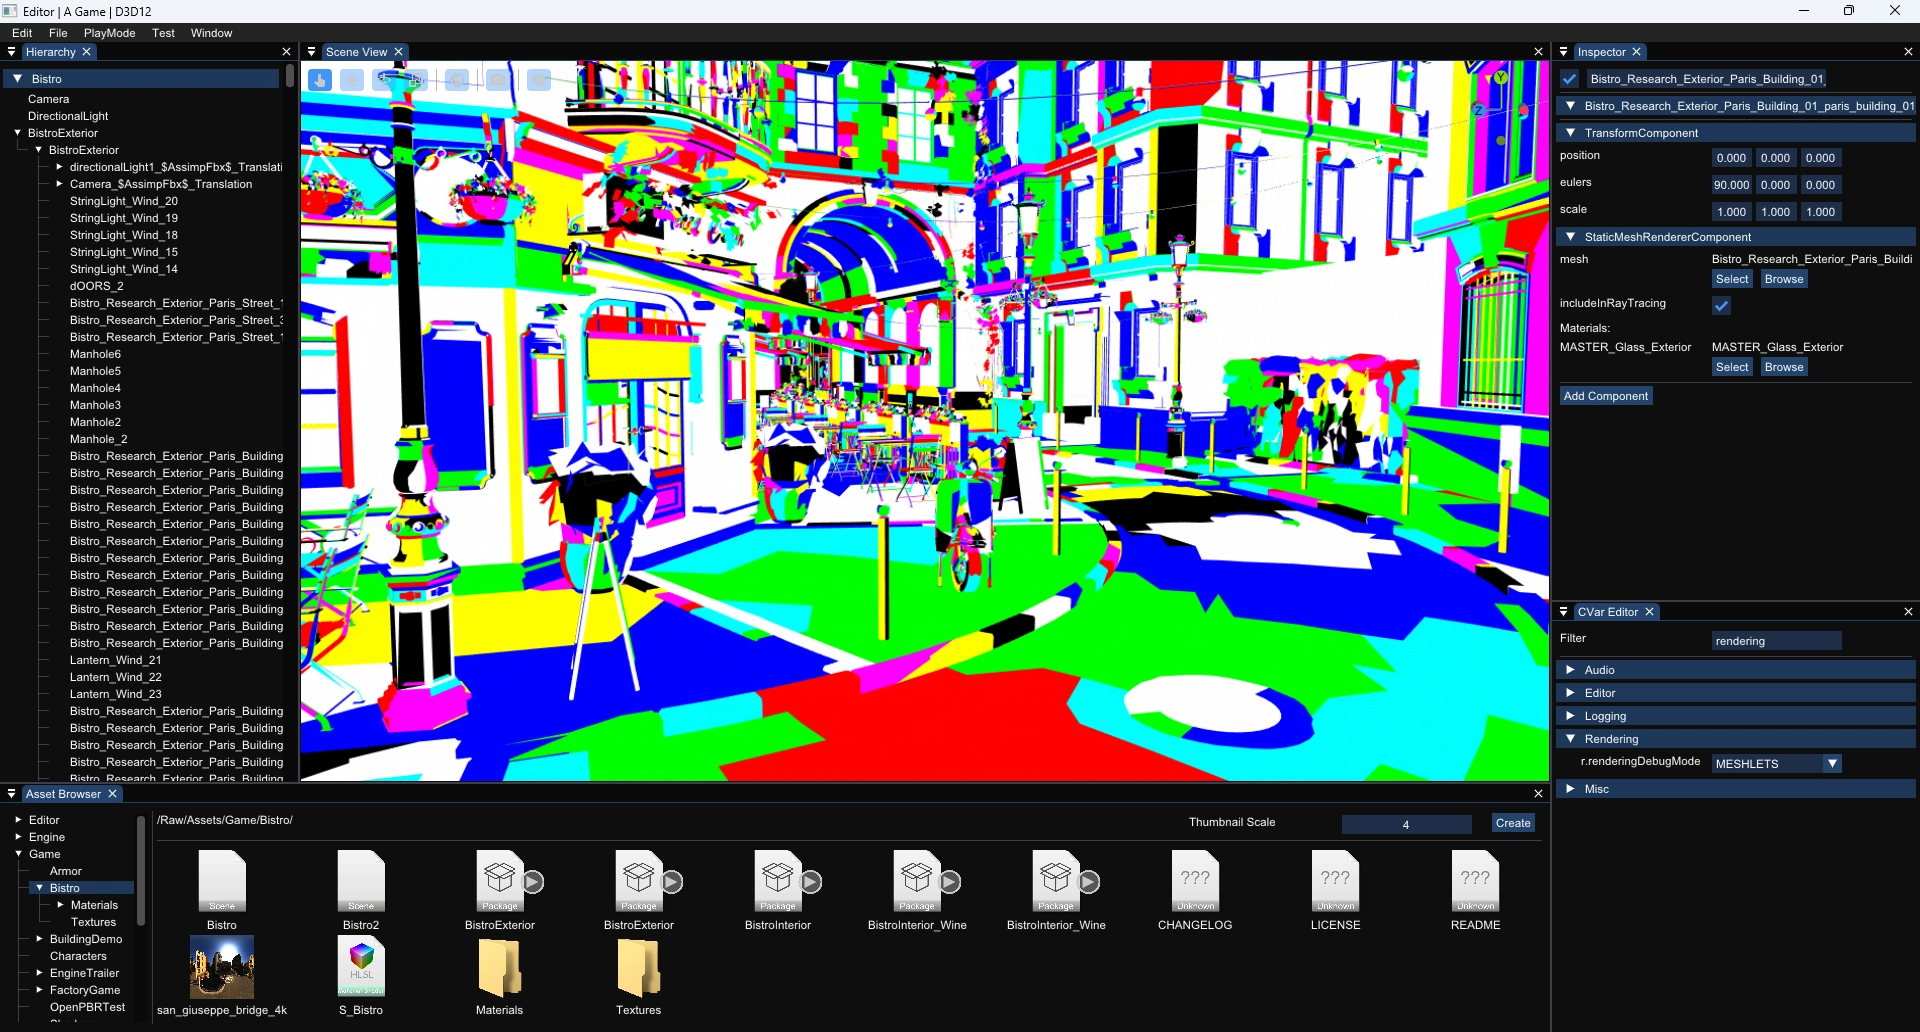 Meshlets debug view of the Amazon Lumberyard Bistro scene Link
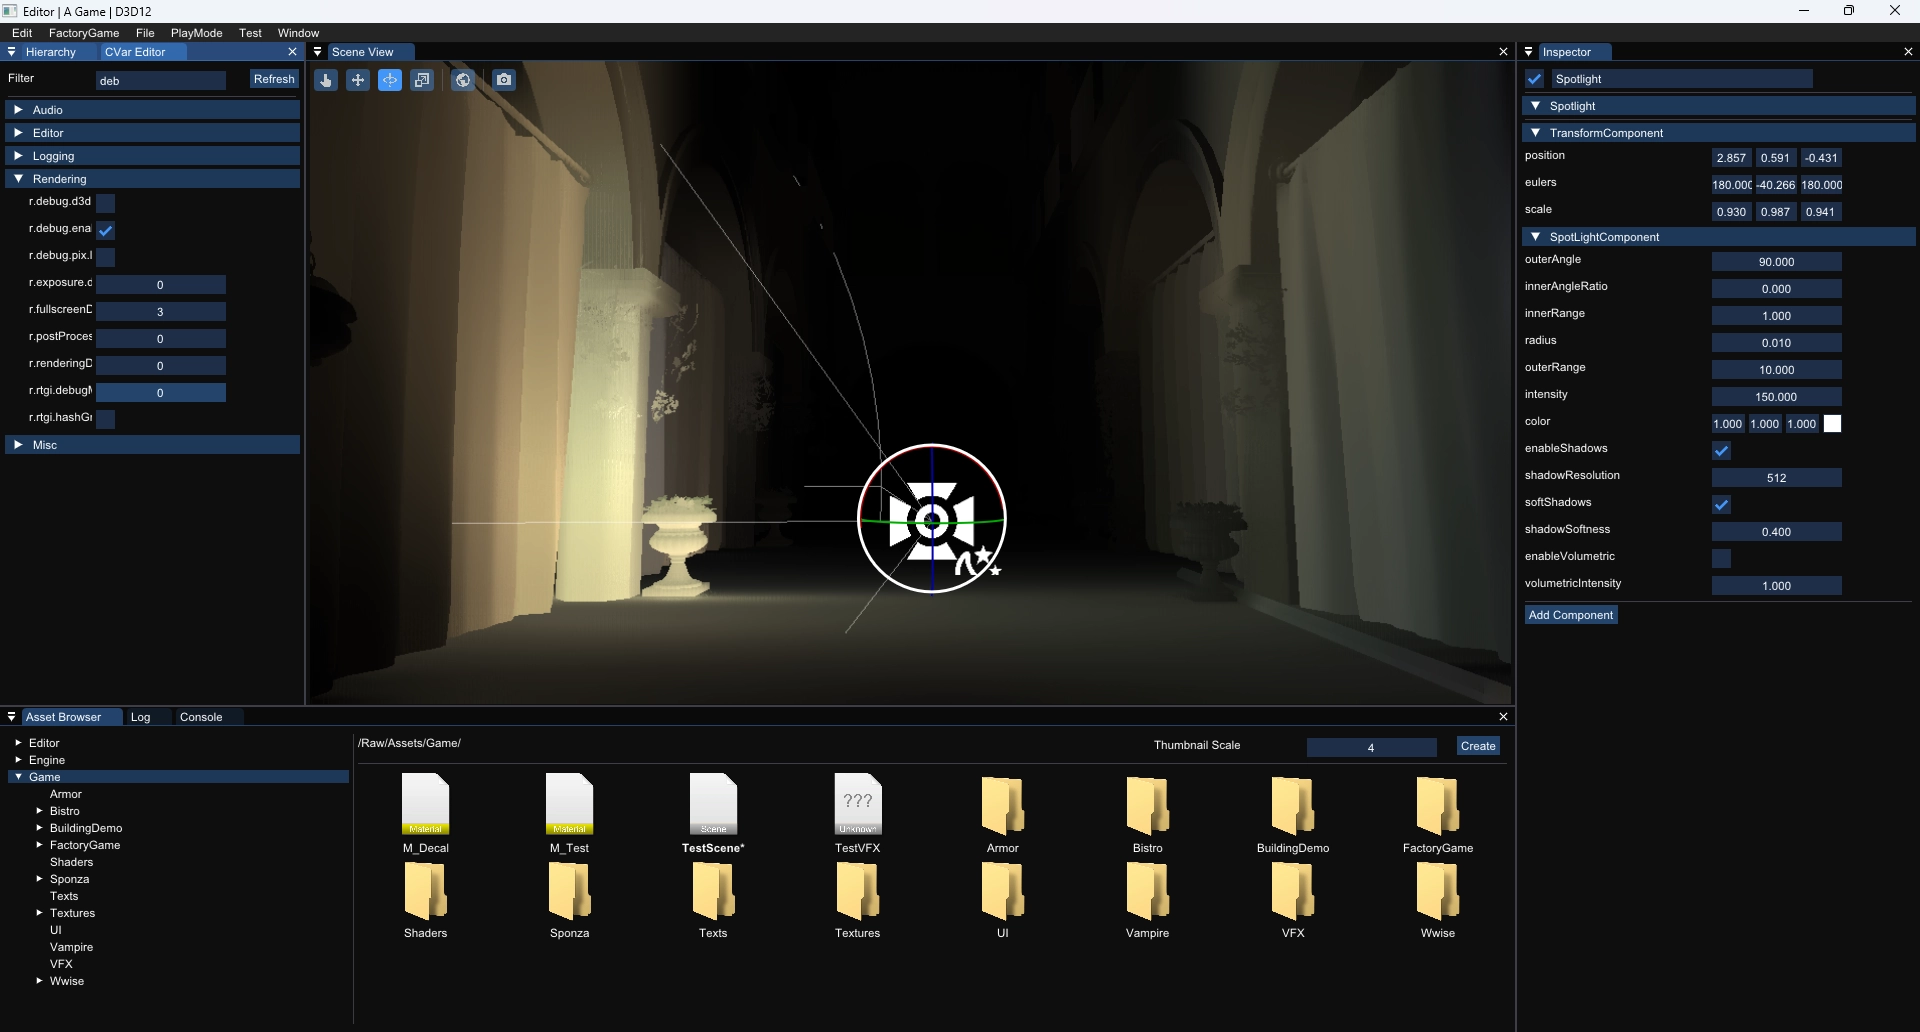
Volumetric Lighting
Like many engines, this engine uses volumetric shading like it was described in EA’s “Physically Based and Unified Volumetric Rendering in Frostbite” (Link). If it’s good enough for Unreal and Unity, it’s good enough for me :)
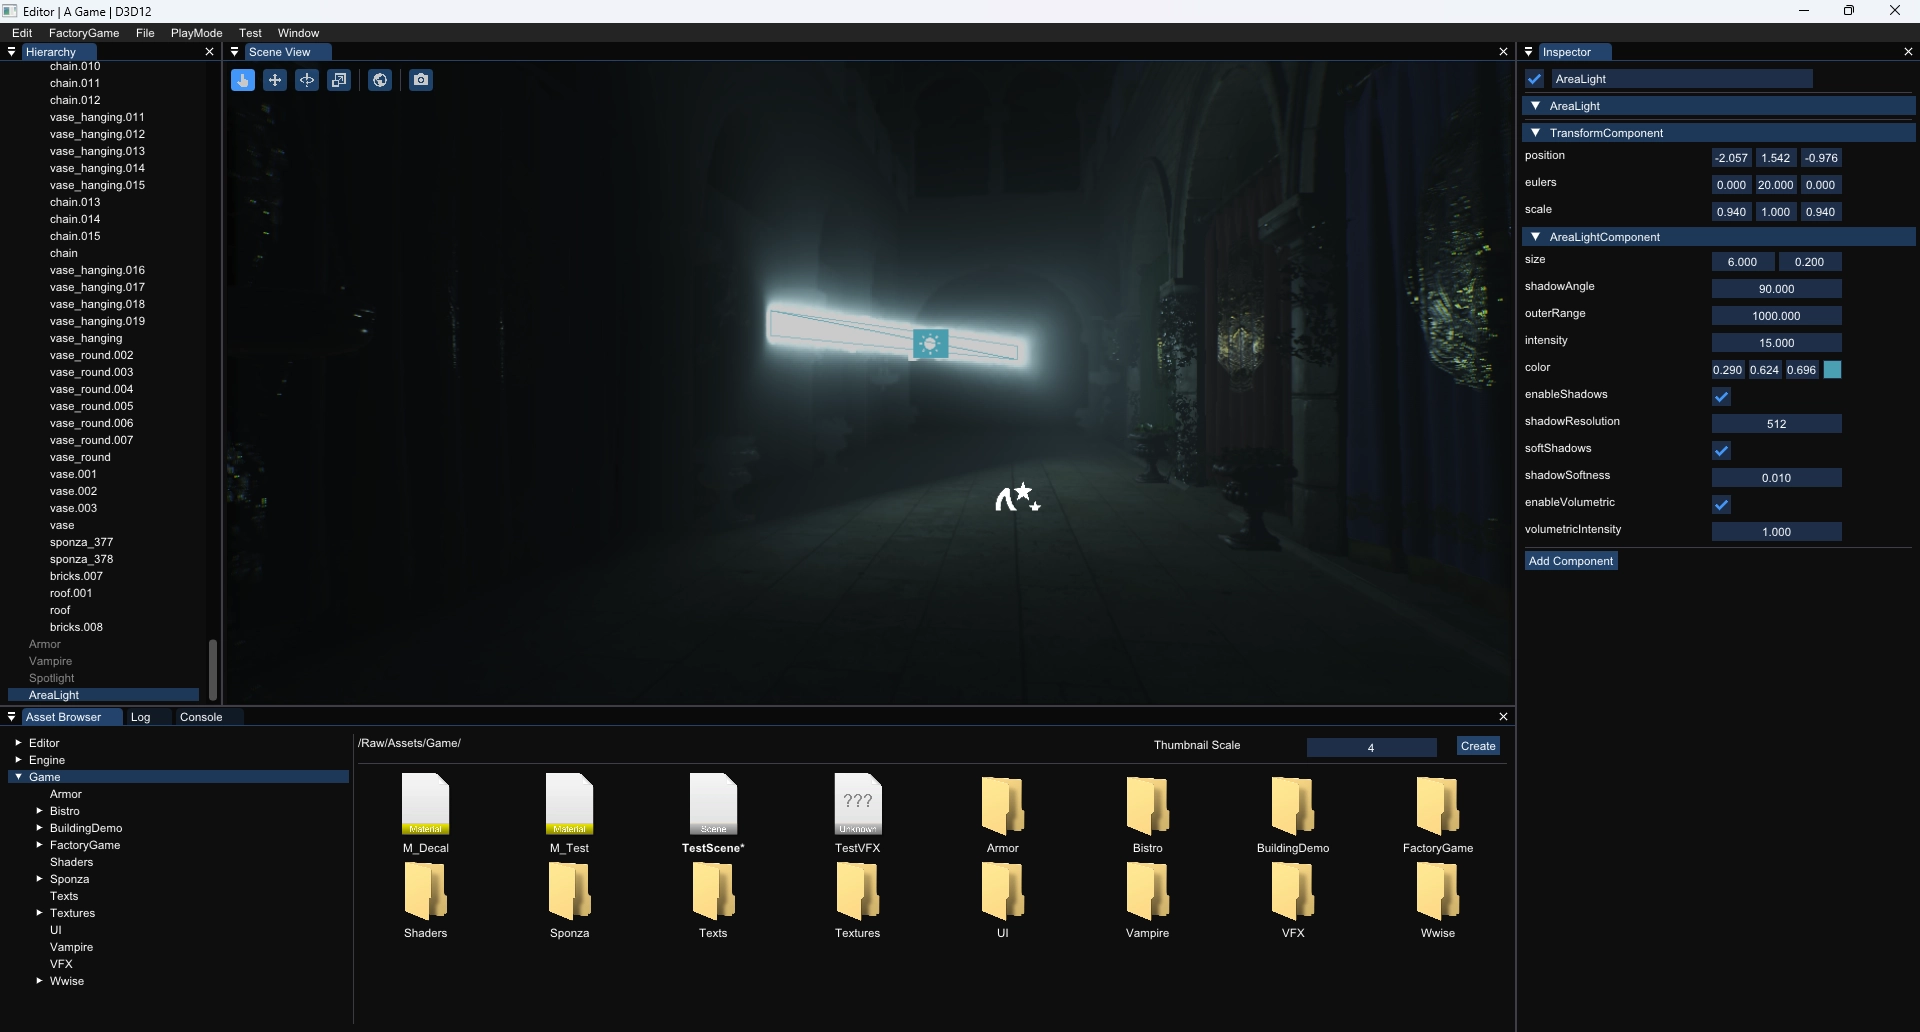 Area light with volumetric fog
 Volumetric fog showcase: Different light shapes (directional, point, spot), Global fog and a local fog volume
Screen Space Reflections
Screen space reflections are based on AMD’s FidelityFX Stochastic Screen Space Reflections (Link) as well as EA’s talk about this topic at SIGGRAPH 2015 (Slides Recording).
Currently, there are no reflection probes in this engine (planar or otherwise), so there are clearly visible areas where SSSR is unable to find anything to reflect. The fallback for now is the skybox, which sometimes works quite well but sometimes looks very off (like in the lower right corner of the next image).
![]() Screen Space Reflections on a smooth surface
Screen Space Reflections on a smooth surface
![]() Screen Space Reflections on a rough surface
Screen Space Reflections on a rough surface
Ray Traced Global Illumination
This implementation is based on AMD’s GI-1.0 (Link), more specifically, of the sample implementation in AMD’s Capsaicin Framework (Link).
This is definitely not finished yet, and there are quite a few artifacts that still need to be fixed. But as I am trying to get by without any form of baking for as long as possible, I wanted to have some form of realtime indirect global illumination in the engine. I will need to get back to this system at some point to finish it because, as of now, the artifacts are too visible and distracting to be able to use this effect for anything serious. Also, I want to figure out how to support emissive surfaces because the authors decided not to support them in their implementation.
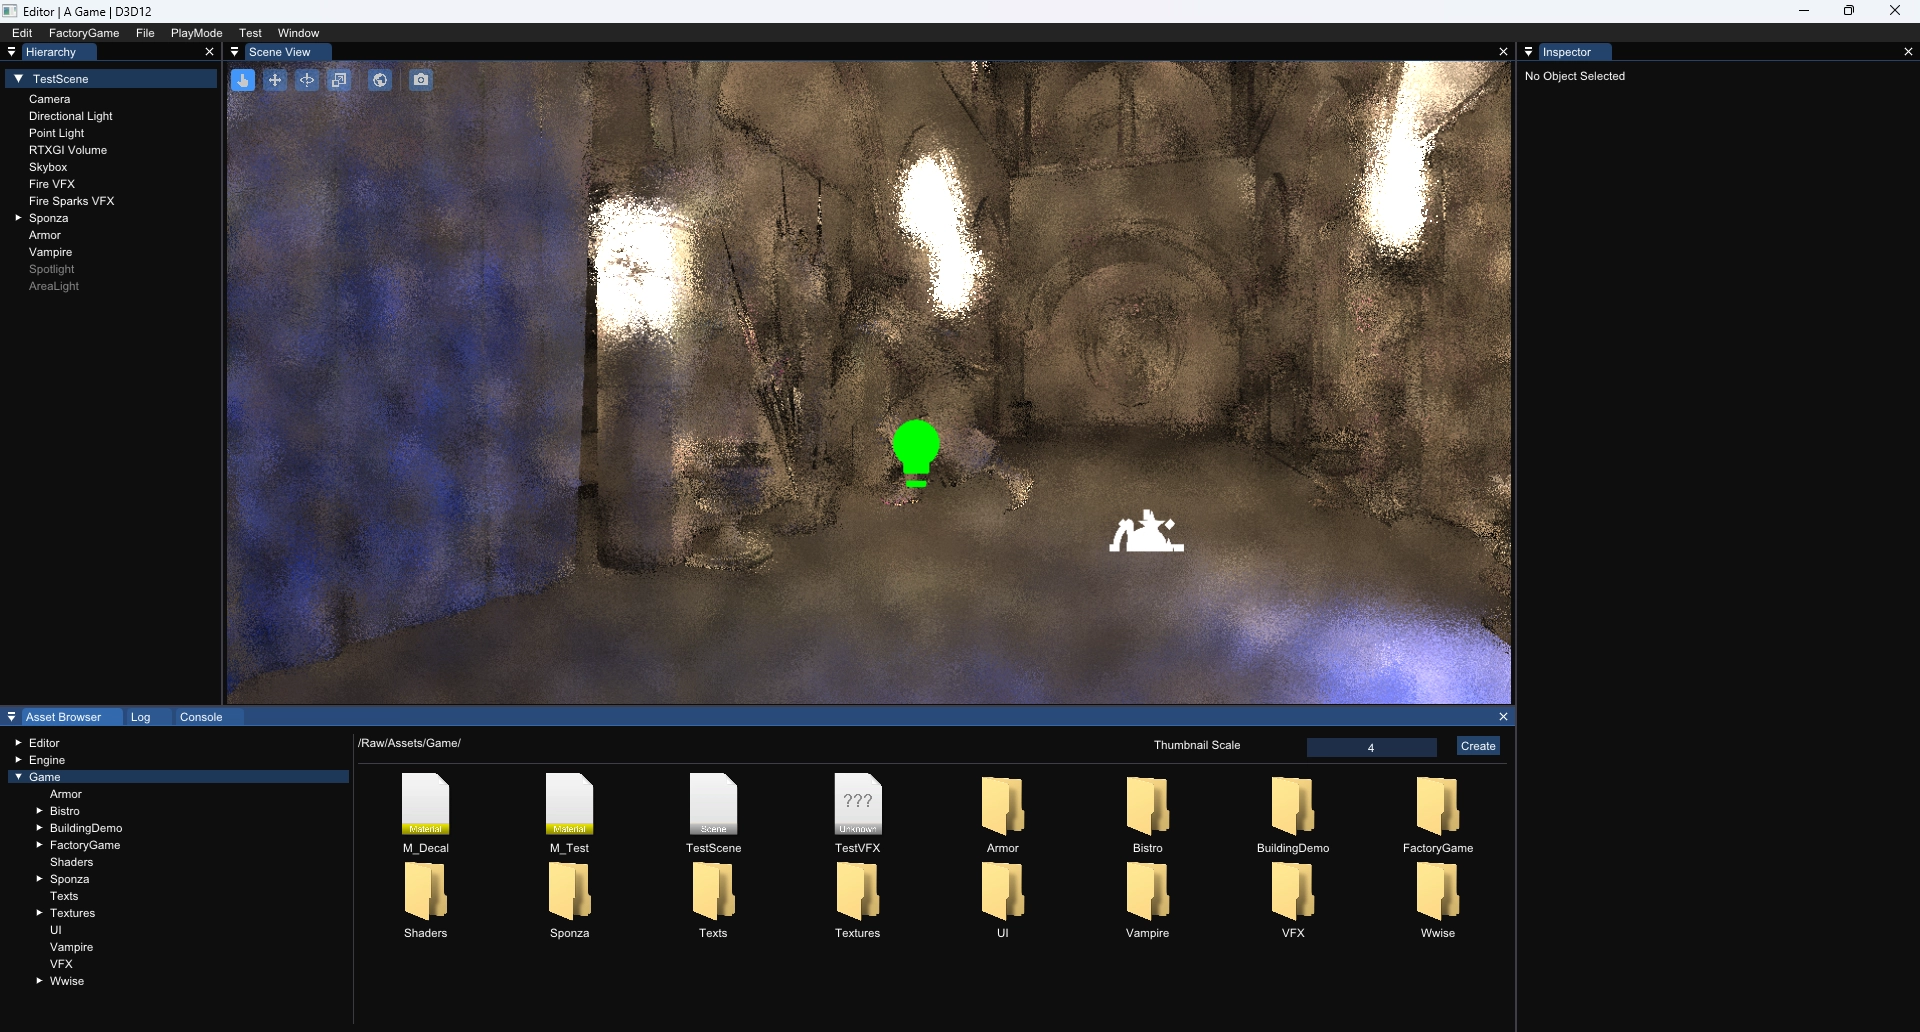
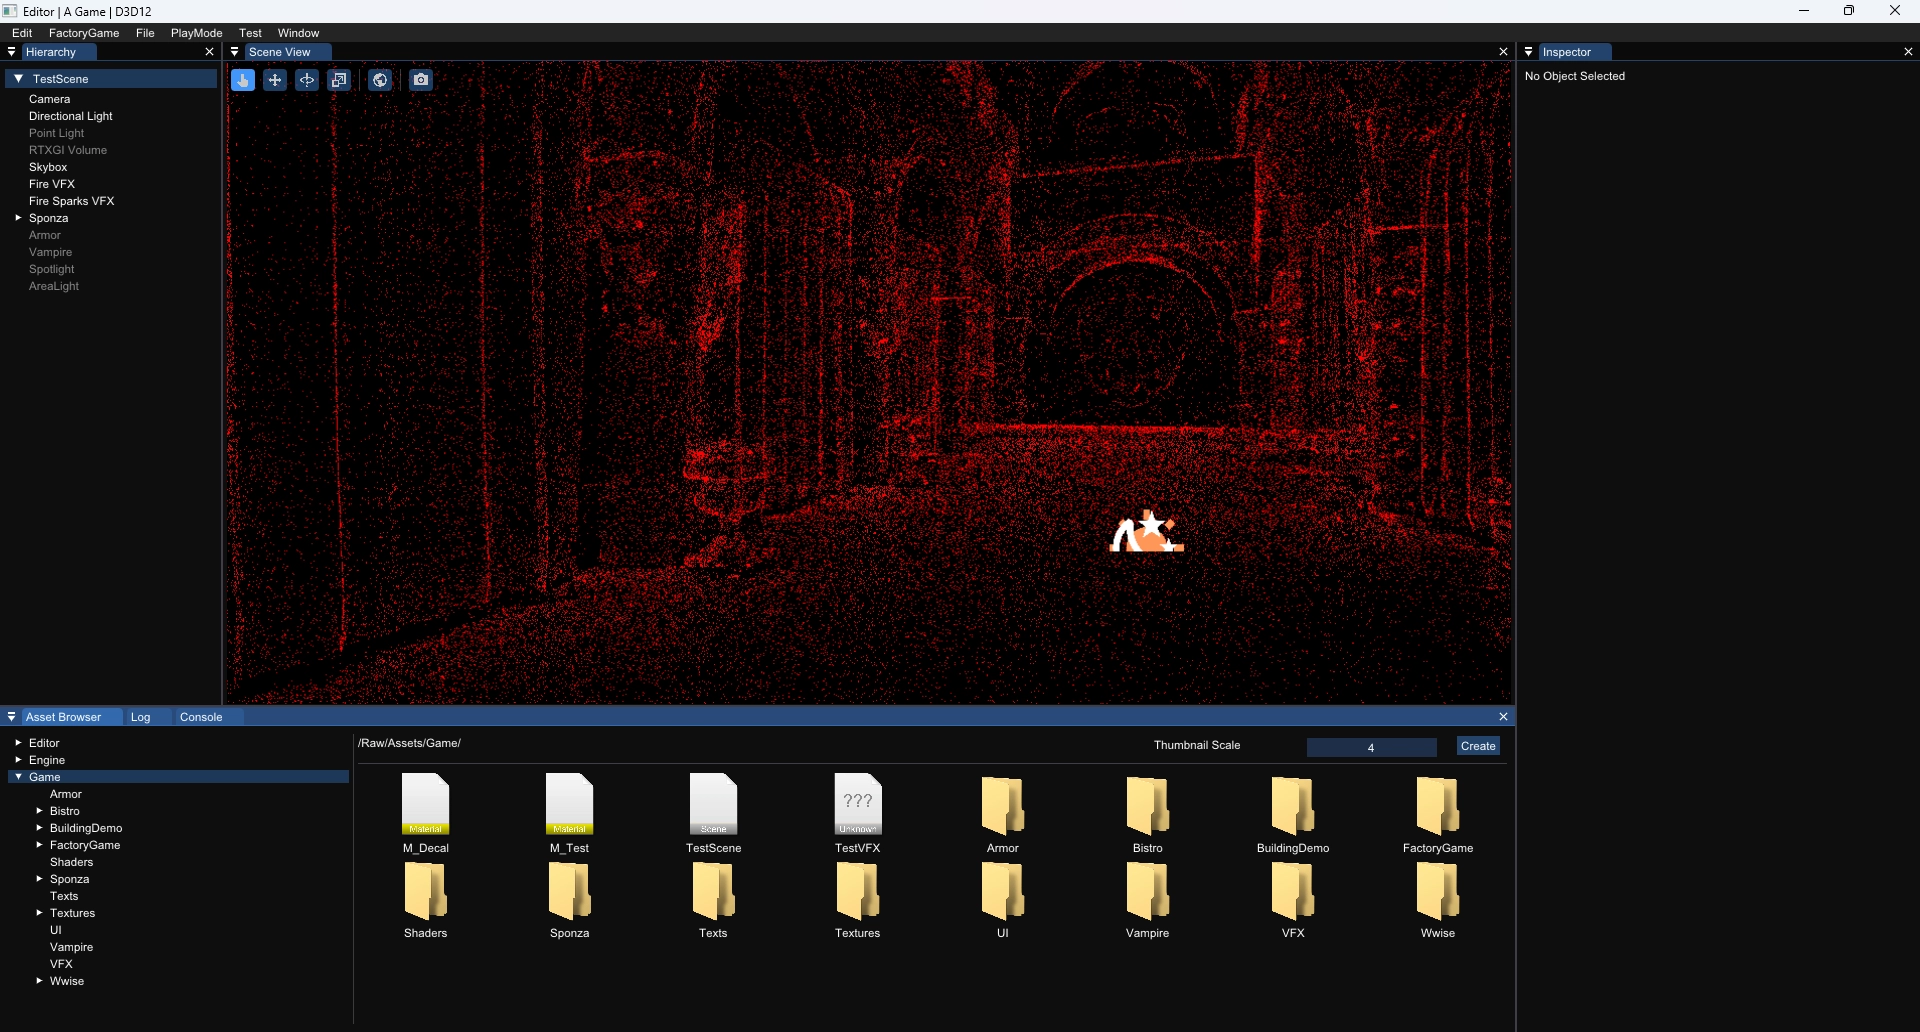
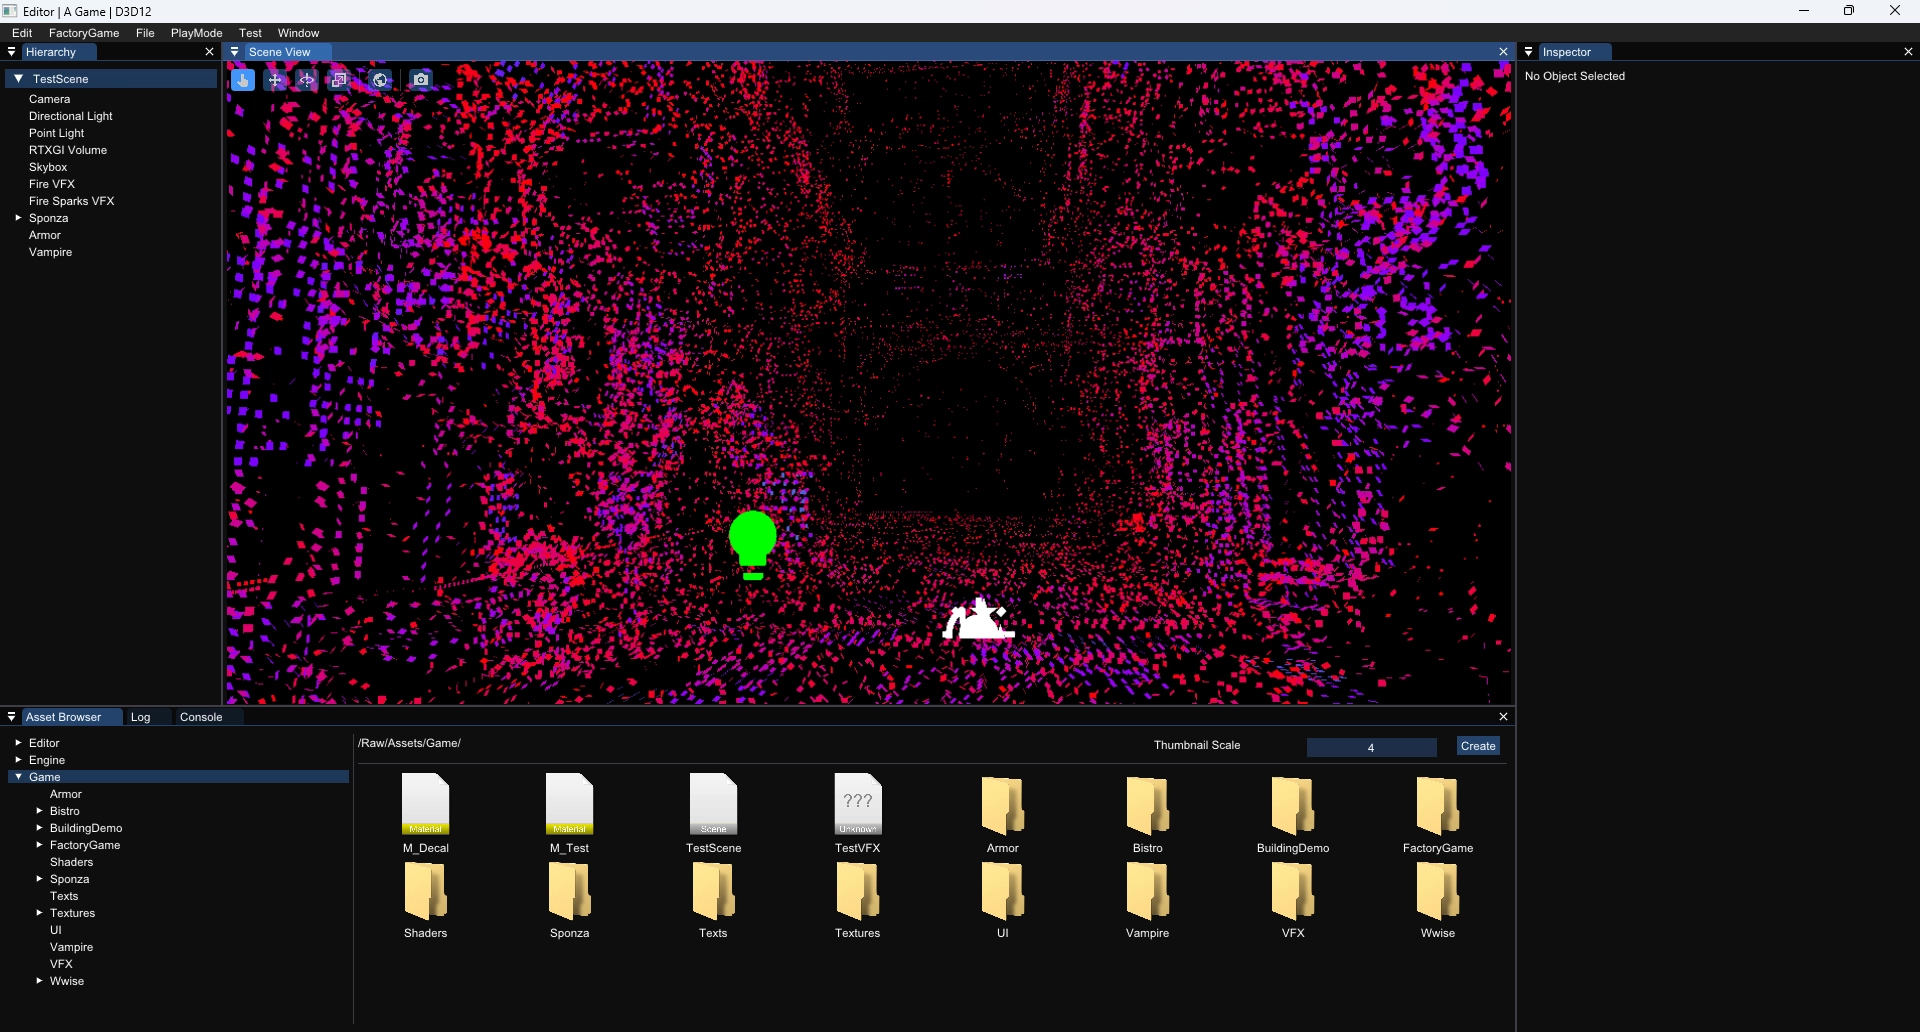
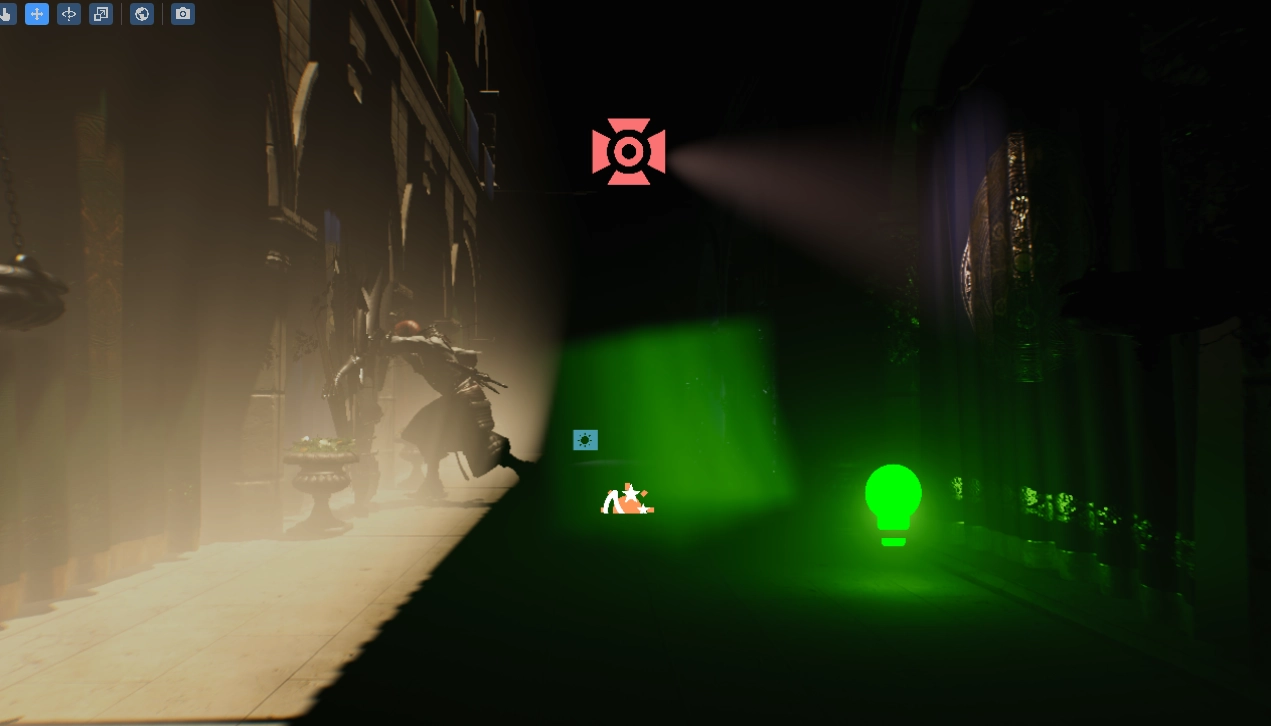
Different debug modes for RTGI